Are you thinking about expanding your herb garden? If so, growing marjoram from seed might just be your next green-thumb adventure. A prized herb in many kitchens and gardens worldwide, marjoram offers a distinct, sweet, and spicy aroma that can elevate your culinary experiences. Plus, gardening aficionados will love its simple growing process.
Marjoram, a close cousin to oregano, is not just a culinary superstar; it also offers numerous health benefits. In this blog post, we’ll cover everything from understanding the herb, preparing for planting, caring for the plant, and troubleshooting common problems.
Understanding Marjoram
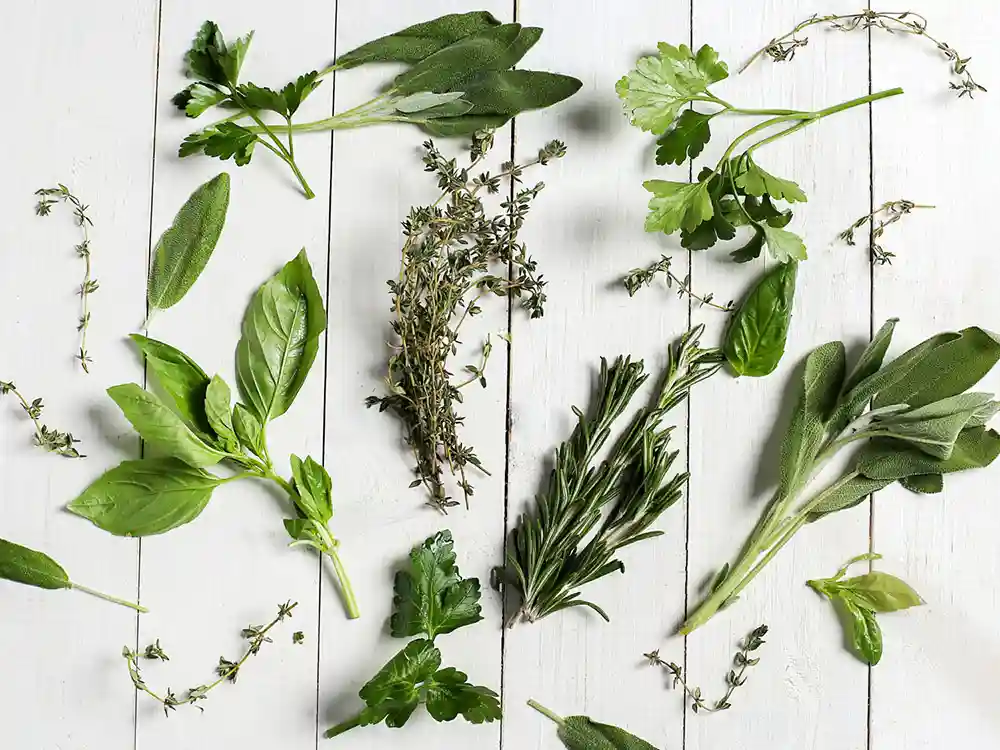
Marjoram comes in many varieties, such as sweet marjoram, pot marjoram, and wild marjoram—each bringing its unique flavor to the table. However, sweet marjoram is the most commonly used in kitchens.
Identifying the type suitable for your cooking needs and climate is the first step in successfully growing marjoram from seed.
Marjoram thrives best in a Mediterranean climate—think warm, dry summers and mild winters. But don’t fret if you’re not living in such a climate; marjoram can be grown as part of you indoor herb garden as well!
Aside from its culinary uses, marjoram is known for its health benefits. It’s packed with vitamins and antioxidants and is often used in traditional medicine for its anti-inflammatory and digestive properties.
Preparing to Plant Marjoram
Before you start sowing those marjoram seeds, you need to ensure they’re the right ones for your herb garden. Always opt for high-quality seeds from reliable suppliers.
The ideal time to plant marjoram seeds is in the early spring, but if you’re growing indoors, you can start any time of the year!
The soil preparation is vital for a thriving marjoram plant. The soil should be well-draining with a neutral pH.
Starting Marjoram from Seed Indoors
For those who live in regions with shorter growing seasons or simply want to get a head start, starting marjoram seeds indoors can be a great option. Here’s a step-by-step guide to help you succeed in this process.
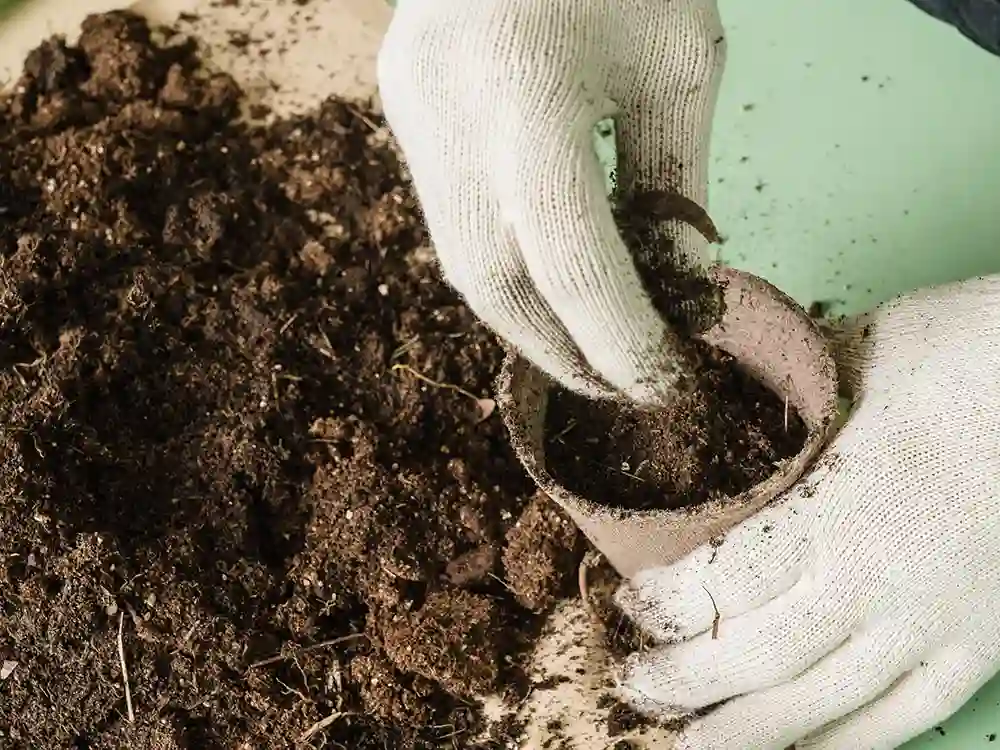
Prepare your pots: Start with clean, small pots or seed trays with drainage holes. Fill these with a seed starting mix, which is lighter than regular potting soil and allows for better moisture retention and air circulation.
Sow the seeds: Place the marjoram seeds on the surface of the soil, spacing them out as much as possible if you’re using a tray. Cover them with a thin layer of soil—about 1/8 inch should do.
Water carefully: Moisten the soil using a spray bottle to avoid disturbing the seeds. The goal is to keep the soil consistently moist but not waterlogged.
Provide light and warmth: Place your pots or trays in a warm location. Ideally, the temperature should be around 70°F for best germination. Marjoram seedlings need a good source of light, so place them in a bright window or under grow lights.
Wait for germination: With the right conditions, your marjoram seeds should start to germinate within 8 to 14 days. Be patient and keep the soil moist during this period.
Grow on: Once the seedlings have a few sets of true leaves, they can be transplanted into larger pots or moved outdoors, weather permitting.
Remember to harden off your seedlings-gradually expose them to outdoor conditions over a week or so-to minimize shock when transplanting.
Starting marjoram seeds indoors can give you a jump-start on the growing season, allowing you to enjoy your home-grown herbs even sooner.
Plus, it’s a fun and rewarding indoor gardening project, especially during the colder months!
Step-by-Step Guide to Planting Marjoram Seeds Outdoors

When it comes to herb gardening, starting with seeds can be an exciting and rewarding experience. In the case of marjoram, this is especially true since it’s relatively easy to grow. Let’s walk through the process, step by step.
Prep your soil: Marjoram prefers well-draining soil with a neutral pH. This means you should aim for a soil pH of around 6.0 to 7.5. If you’re planting in pots, a regular potting mix will do just fine.
If you’re planting directly in the ground, you may want to amend your soil with organic matter to improve its fertility and drainage.
Sow your seeds: Once your soil is prepared, it’s time to sow your marjoram seeds. These should be planted about 1/8 inch deep—just enough to cover them with a thin layer of soil.
If you’re planting multiple seeds, make sure to leave about 12-18 inches of space between them. This allows each plant ample room to grow and ensures that they won’t compete with each other for nutrients and sunlight.
Watering and waiting: After planting, water the seeds gently. The soil should be moist, but not waterlogged. In the right conditions, your marjoram seeds should germinate within 8-14 days.
During this time, it’s crucial to keep the soil consistently moist. Using a spray bottle can help you water lightly without disturbing the seeds.
Caring for seedlings: Once your seeds sprout, they’ll need plenty of light. If you’re growing marjoram indoors, place the seedlings in a sunny window or under grow lights. If they’re outside, a spot with full sun is best.
Be sure to water regularly, but avoid overwatering. The soil should dry out slightly between watering sessions.
During the initial stages of growth, your baby marjoram plants need tender loving care. Regular watering, enough sunlight, and protection from harsh weather or pests are critical at this stage. But don’t worry, once they’re established, marjoram plants are quite hardy!
Caring for Marjoram Plants
Watering your marjoram plants requires a careful balance. They need consistent moisture, but overwatering can lead to root rot. A good rule of thumb is to water when the soil feels dry to the touch.
When it comes to fertilizing, marjoram isn’t overly picky. A general-purpose water soluble fertilizer applied every few weeks should do the trick.
If you’re growing marjoram indoors, make sure it gets at least 6-8 hours of sunlight a day.
Pruning and thinning your marjoram plants helps promote bushier growth and better air circulation, which can help prevent disease.
Pests and Diseases
Like any plant, marjoram has its share of pests and diseases.
| Pest/Disease | Signs | Solution |
|---|---|---|
| Aphids | Curled, yellowing leaves, sticky residue on leaves or surrounding area | Use organic insecticidal soap or introduce natural predators like ladybugs |
| Spider Mites | Tiny spider-like creatures on the undersides of leaves, fine webbing, yellow or brown spots on leaves | Increase humidity, use organic miticides if severe |
| Root Rot | Wilting plant, brown or black roots, rotten smell | Improve drainage, don’t overwater, remove and replace affected plants |
| Powdery Mildew | White or grey powdery spots on leaves and stems | Improve air circulation, apply organic fungicide, remove affected leaves |
But don’t let this discourage you! With proper care and preventive measures, your marjoram can stay healthy and robust. Regularly check your plants for any signs of pests or disease, and treat promptly with organic insecticides or fungicides if needed.
Harvesting and Storing Marjoram

One of the most rewarding aspects of growing marjoram from seed is harvesting! You can start harvesting when the plant is about 6 inches tall—typically a few weeks after planting.
Cut the sprigs early in the morning for the best flavor and always leave at least one-third of the plant intact to allow for regrowth.
After harvesting, you can use the fresh marjoram immediately or dry it for later use. To dry marjoram, tie the stems into small bundles and hang them upside down in a warm, well-ventilated area.
Once dry, store in airtight containers away from direct sunlight.
Troubleshooting Common Problems
Herb gardening isn’t always smooth sailing. If your marjoram seeds aren’t germinating, it could be due to a variety of reasons-poor quality seeds, incorrect temperature, or too much or too little moisture.
If your marjoram leaves are turning yellow, it could indicate overwatering or a nutrient deficiency.
Don’t let these challenges deter you from growing marjoram from seed. Often, a bit of troubleshooting can help you get your plants back on track. Remember, the best teacher in gardening is experience!
Conclusion
So there you have it, the A-Z of growing marjoram from seed. Whether you’re an herb gardening newbie or an experienced grower looking to expand your garden, marjoram is a rewarding and versatile plant to grow.
So why not give it a try? With patience, care, and a little bit of love, you’ll soon have your own home-grown marjoram to spice up your dishes and beautify your garden.
FAQ: Growing Marjoram from Seed
Is Marjoram Hard to Grow from Seed?
Not at all! Marjoram is relatively easy to grow from seed. With proper care—ample light, well-draining soil, and regular watering—your seeds should germinate and grow nicely.
Is Marjoram a Perennial or Annual?
Sweet marjoram, the most common variety, is a tender perennial. It’s often grown as an annual in colder climates where it may not survive the winter.
Should I Let Marjoram Flower?
Letting marjoram flower can attract beneficial insects to your garden. However, for culinary uses, it’s best to harvest leaves before the plant flowers for optimal flavor.
Are Oregano and Marjoram the Same Plant?
While both oregano and marjoram belong to the Origanum genus and share similarities, they are distinct species. Marjoram tends to have a sweeter, more delicate flavor compared to oregano.
How Cold Can Marjoram Tolerate?
Marjoram is a Mediterranean herb and prefers warmer temperatures. It can tolerate light frost, but extended periods of cold can damage or kill the plant.