Aeroponics is a cutting-edge gardening technique that uses nutrient-rich mist to nourish plants, resulting in faster growth and higher yields. In this comprehensive guide, we’ll take you step by step through the process of building your very own DIY aeroponics system, from understanding the basics to troubleshooting common issues.
How does Aeroponics work?
Aeroponics is an innovative plant cultivation method that has gained popularity in recent years due to its numerous benefits over traditional soil-based methods. By understanding how aeroponics works, you can better appreciate its advantages and utilize this technique effectively in your own gardening pursuits.
The Aeroponics Process
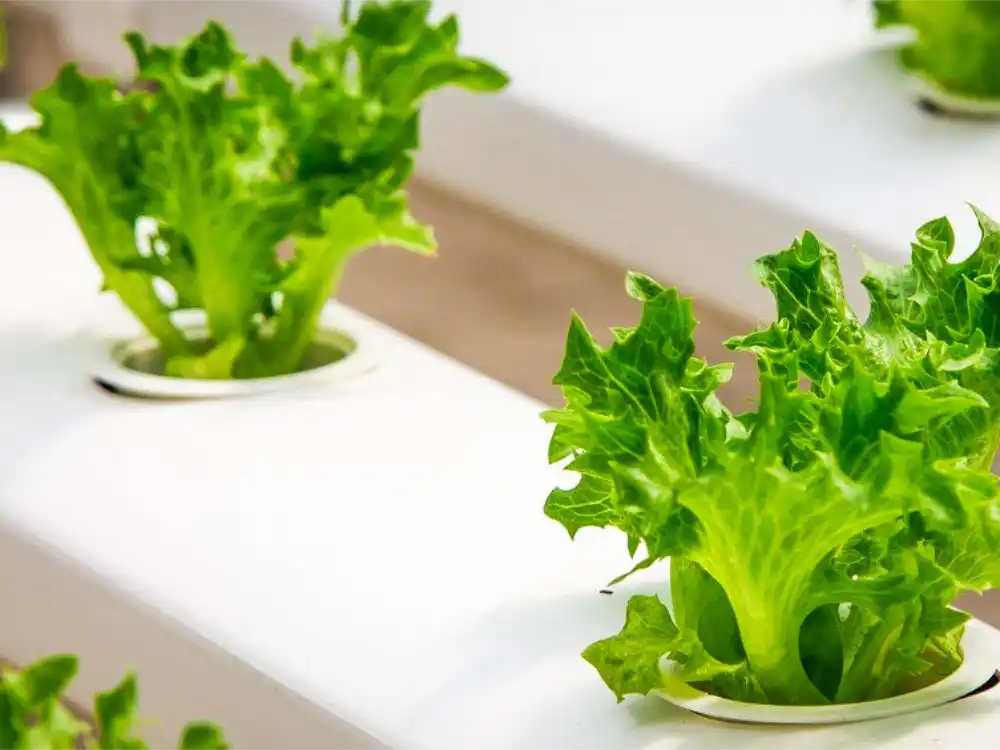
In an aeroponics system, plants are grown with their roots suspended in air, allowing for optimal exposure to oxygen.
A nutrient-rich mist is then periodically sprayed directly onto the roots, providing the plants with the water, nutrients, and minerals they need for growth.
This unique approach offers several advantages over traditional methods, such as:
- Enhanced Oxygenation: The air exposure in an aeroponics system promotes better oxygen uptake by the plants’ roots, leading to faster growth and healthier plants. The increased oxygenation also helps prevent root diseases and enhances nutrient absorption.
- Precise Nutrient Delivery: By delivering nutrients directly to the roots through a fine mist, aeroponics allows for precise control over nutrient concentration and delivery. This enables gardeners to tailor their nutrient solutions to the specific needs of their plants, resulting in optimal growth and yield.
- Reduced Water Usage: Aeroponics systems typically use significantly less water than traditional soil-based methods, as the water is delivered directly to the roots, and any excess can be easily collected and reused. This makes aeroponics an environmentally friendly and sustainable option for plant cultivation.
- Sterile Growing Environment: With no soil involved, aeroponics systems provide a sterile growing environment, reducing the risk of soil-borne diseases and pests. This also results in cleaner, healthier plants with fewer issues.
Advantages of Aeroponics
Aeroponics offers numerous benefits over traditional soil-based gardening, such as faster growth, greater water efficiency, and reduced disease risk.
A DIY aeroponics system is customizable to your needs and can save you money in the long run.
Planning Your DIY Aeroponics System
Before embarking on your DIY aeroponics journey, it’s essential to consider the available space, desired crop types, and budget constraints. Think about the size of the system you’d like to build and which plants you want to grow. This will help guide your decisions as you plan your system.
Choosing the right components
To build a successful DIY aeroponics system, you’ll need to select appropriate components, such as a reservoir, submersible pump, misting nozzles, and more.
Take your time researching and comparing different options, as the quality and compatibility of these components will directly impact your system’s performance.
No products found.
Building Your DIY Aeroponics System
In this section, we will dive into the construction process of your DIY aeroponics system. This includes assembling the plumbing, installing the misting system, and adding your plants.
Assembling the plumbing
Materials
- Submersible pump
- Reservoir (food-grade container or tank)
- Misting nozzles
- Tubing (compatible with your pump output)
- PVC pipe and connectors (T-connectors, elbow connectors, etc.)
- Interval timer (for the pump)
- Hose clamps
- Zip ties
Instructions
- Drill holes in the container lid where you want to place your plants. Be sure the net pots fit the holes properly. We use a 2 1/8″ in hole saw for 2″ net pots.
- Using the PVC pipe and connectors, construct a frame that runs around the inside perimeter of the reservoir. Use cross pipes to ensure the piping runs near the holes you drilled for the net pots. Keep in mind, the net pots will hang down a bit.
- Mark the PVC frame at the locations where you want to place the misting nozzles. There should be at least one that will spray on every plant root zone. Most likely the spray will overlap.
- Drill the proper size holes in the PVC frame and insert the misting nozzles.
- Cut a space in the PVC frame to install a T-fitting with a barbed connector. This can be placed anywhere on the PVC frame.
- Connect a piece of flexible tubing to the barbed fitting on the PVC frame.
- Place the water pump in your reservoir and measure and cut the flexible tubing to the required length and connect the pump, allowing for some slack to prevent kinks
- Use hose clamps to secure tubing connections.
- Attach the PVC frame to the inside of your reservoir using zip ties, ensuring that it is secure.
- Test your plumbing system by filling the reservoir with water and turning on the pump. Ensure the proper functioning of the mister nozzles.
- Once you ensure the system is functioning properly, you can add the hydroponic nutrients to your reservoir.
No products found.
Adding the plants
Things You’ll Need
Instructions
- Fill your net pots with the chosen growing medium.
- Plant your seedlings or seeds in the growing medium.
- Place your net pots or grow cups in the holes you drilled in the lid.
Running the System
With your DIY aeroponics system now assembled and your plants or seeds in place it’s time to run the system.
Plug the pump into the interval timer and set the pump to come on and off at 15-minute intervals.
You can adjust the intervals frequency based on the needs of your plants. You may need more or less frequent intervals. Optionally, you can just run the pump continuously.
Don’t be afraid to experiment and tweak your system as you learn more about the unique requirements of your plants and the intricacies of aeroponics gardening.
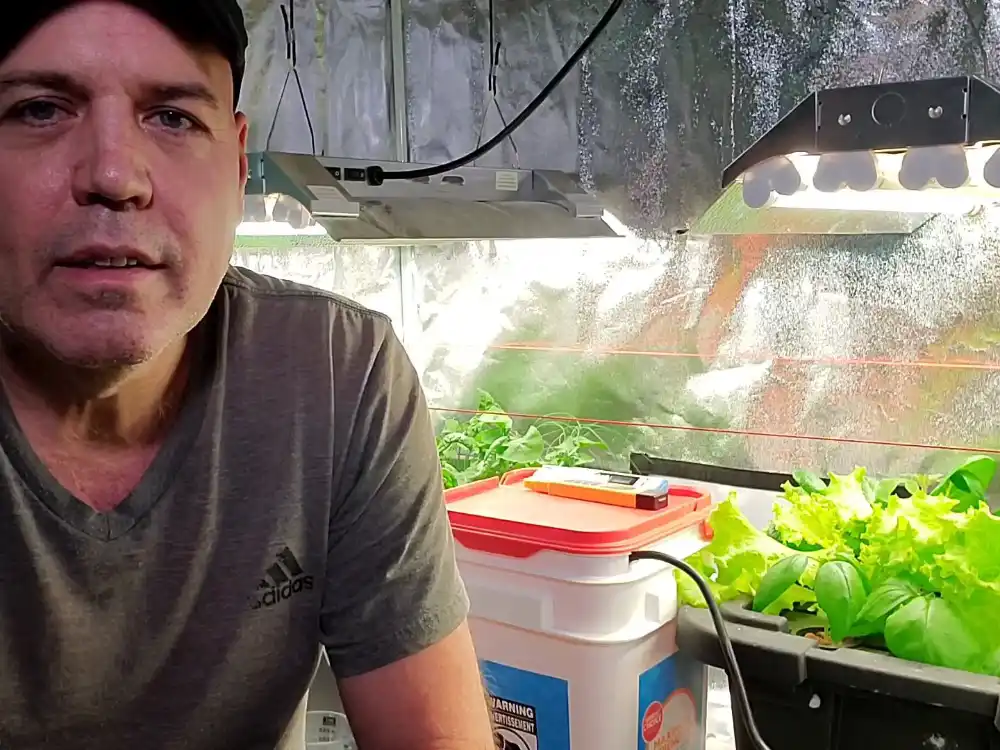
DIY Aeroponics System Instructional Video
Monitoring and Maintenance
Remember that building and setting up your aeroponics system is just the beginning. Regular maintenance, proper nutrient management, and diligent care for your plants are essential for success.
Nutrient management
To ensure your plants receive proper nourishment, it’s essential to monitor and adjust the EC (electrical conductivity) of the hydroponic nutrients in your reservoir regularly. This will keep your plants healthy and maximize their growth potential.
Water and pH management
Maintaining optimal water quality and pH levels is crucial for the success of your aeroponics system and the health of your plants. Use a pH meter to regularly test the pH and adjust it as needed, aiming for a slightly acidic range between 5.5 and 6.5 for most plants.
System cleaning and maintenance
Regularly inspecting and cleaning your aeroponics system will prevent potential issues and ensure a consistently high-quality harvest. This includes checking for clogged nozzles, algae buildup, and other signs of wear and tear.
Troubleshooting Common Issues
Addressing nutrient deficiencies
Identifying and correcting nutrient deficiencies is vital to maintaining a healthy and thriving aeroponics garden. Familiarize yourself with the signs of common deficiencies and be prepared to adjust your nutrient solution accordingly.
| Nutrient Deficiency | Symptoms |
|---|---|
| Nitrogen (N) | Yellowing of older leaves, stunted growth, weak stems |
| Phosphorus (P) | Dark green or purple leaves, slow growth, weak root system |
| Potassium (K) | Yellowing leaf edges, curling leaves, poor fruit development |
| Calcium (Ca) | Stunted growth, leaf tip burn, blossom end rot in fruits |
| Magnesium (Mg) | Yellowing between leaf veins, curling leaves, weak stems |
Preventing and treating diseases
While aeroponics systems are less prone to diseases, it’s crucial to recognize the signs of infection and act promptly to address them. Keep your system clean and use organic or chemical treatments when necessary to keep your plants disease-free.
Solving pump and nozzle issues
Pump and nozzle problems can disrupt your aeroponics system’s efficiency, so it’s essential to diagnose and resolve these issues as quickly as possible. Regular maintenance and cleaning can help prevent many common problems.
Time to Share Your Experience
Now that you’re equipped with all the knowledge you need to build and maintain a thriving DIY aeroponics system, it’s time to put your skills to the test!
Don’t forget to share your experiences, successes, and challenges in the comment section below. We’d love to hear your story and learn from your journey.
FAQ: DIY Aeroponics System
What are the best nutrients for growing vegetables using aeroponics?
We’ve found that Masterblend are the best hydroponic nutrients for vegetables. They come in a dry powder form and are easy to reconstitute. Excess can easily be stored away until they’re needed. They contain a complete nutrient regimen for all types of vegetables. We’ve used them for everything from lettuce to peppers. They also work great in our outdoor hydroponic system.
How long do I spray the root for aeroponics?
At first, I tried various intervals of having the pump come on for a few seconds and offer for a few minutes. The results were ok but as the plants grew it didn’t seem sufficient. This was also putting additional wear and tear on my pump (startup is hardest on the pump). In the end I decided on 15 minutes on and 15 minutes off was working well. NOTE: I may end up just leaving the pump running 24/7 as I don’t see any downside to it.
How often do you change the water in aeroponics?
Generally speaking, you should change the water every 7-14 days. The various nutrients will be consumed by plants at different rates. Simply adding more Masterblend nutrients to the reservoir could lead to a nutrient imbalance.
How many sprayer heads should I use in my DIY aeroponics system?
When building a DIY Aeroponics system everything is trial and error. I don’t think you could have too many sprayer heads. I would put enough that multiple is covering the same area. The holes in the sprayer nozzles are small and can easily become clogged. With multiple spray nozzles covering the same area it won’t be a big issue if one of the nozzles becomes clogged. Your plant’s roots should still get saturated. Once the plants are growing and have large roots it will be difficult to get into the system to unclog a nozzle. You can find the sprayer nozzles on Amazon or at your local hydroponics store.
What size pump should I use for aeroponics?
On my DIY Aeroponics system I’m using an 800 gph pump to feed both of my tubs. That said I would recommend a submersible pump that can provide 300-400 gph for a single tub system.